
Spring is the perfect season for giving your outdoor spaces a facelift, and what better way to start than by sprucing up your shed with a new set of shutters? Not only do shutters add charm and character to your shed, but they also offer practical benefits like enhanced privacy and protection from the elements. Follow our step-by-step guide to choose and install the perfect shutters for your shed windows this spring.
Step 1: Assess Your Needs
Before diving into the vast array of shutters available, consider what you need them for. Are you looking for more privacy, increased security, or purely decorative shutters to enhance your shed's aesthetic appeal? Your primary need will significantly influence the type of shutters you choose.
Step 2: Choose Your Material
Shutters come in various materials, each with its benefits and considerations:
- Wood Shutters offer a classic look but require maintenance to prevent rot and decay.
- Vinyl Shutters are low maintenance and resistant to weathering, but may not have the same aesthetic appeal as wood.
- Composite Shutters are a blend of wood and synthetic materials, offering the best of both worlds in terms of durability and appearance.
Step 3: Pick the Right Style
- Shutters are available in several styles that can complement your shed's design:
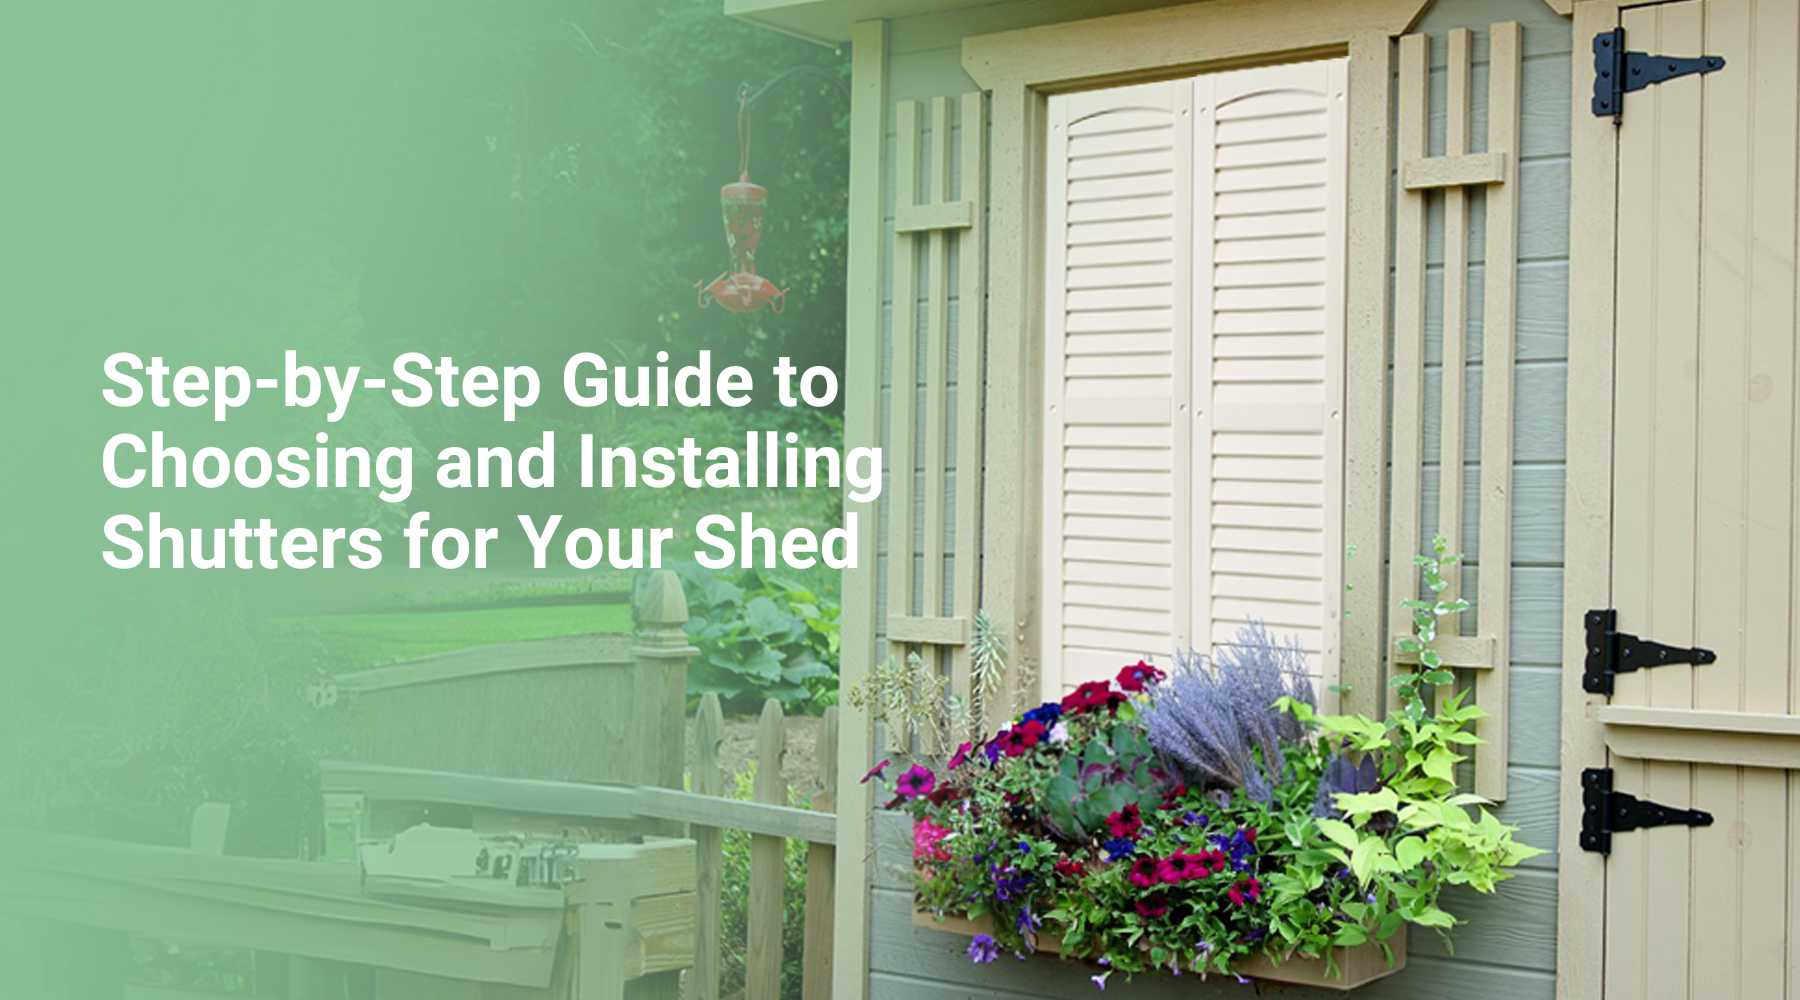
- Louvered: Slatted design allows for ventilation while providing shade and privacy.
- Raised Panel: Solid panels offer a traditional look and complete privacy.
- Board and Batten: A rustic design ideal for a countryside or cottage-style shed.
Step 4: Measure Your Shed Windows
Accuracy is key when measuring for shutters. Measure the height and width of your windows from the outside edges. Ensure to leave a small gap around the window frame for easy installation. It's recommended to measure twice to avoid any mistakes.
Step 5: Purchase Your Shutters
With your measurements in hand and a clear idea of what you're looking for, it's time to purchase your shutters. Shed-Parts.com offers a wide selection of shutters in various materials and styles to suit your needs and preferences.
Step 6: Installation
Installing shutters can be a straightforward DIY project. Here's how:
- Gather Your Tools: You'll need a drill, screws, level, and possibly anchors if you're attaching the shutters to a masonry surface.
- Mark the Position: Hold the shutters up to the window to mark the screw holes' positions. Ensure the shutters are level.
- Drill Pilot Holes: Drill pilot holes at the marked positions to make installing the screws easier and prevent splitting if you're attaching the shutters to wood.
- Attach the Shutters: Secure the shutters with screws, checking the level again as you go to ensure they're straight.
Step 7: Enjoy Your Shed's New Look
Once installed, step back and admire your work. Your shed now boasts a fresh, new look with shutters that not only enhance its appearance but also provide functional benefits.
Conclusion
Upgrading your shed with new shutters is a simple yet effective way to spruce up your outdoor space this spring. By following these steps, you can choose and install shutters that will complement your shed's style, meet your needs, and last for seasons to come. Visit Shed-Parts.com to explore our selection and find everything you need for your next shed improvement project.